Why Side Planks Deserve More of Your Attention—and 8 Spicy Variations to Try
This unilateral core exercise is more powerful than it appears.
By Alyssa Sparacino•
The Benefits of Doing Side Planks
Muscles Worked By Side Planks
How to Do a Side Plank
Side Plank Variations
Side Plank Form: Mistakes to Avoid
How to Add Side Planks to Your Workout Routine
When it comes to core exercises, the focus is often on the “six-pack” muscles in the front of your body (the rectus abdominis), but that leaves the all-important obliques out of the equation. These core muscles that run along your trunk on either side are responsible for much more than the proverbial snatched waist. Obliques contribute to your balance and stability, as well as help you rotate, twist, and pivot—important factors for sports, including running, tennis, soccer, and everyday life.
Discover more ways to reach your goals with Peloton


One of the best exercises to target your obliques is the side plank. This anti-rotation, isometric exercise requires you to stabilize as you strengthen to prevent wobbling or toppling over. And it’s so much more than a core exercise. Similar to the traditional plank, the side plank requires you to fire up muscles from head to toe. Here’s more on exactly how to do a side plank, what muscles you’ll work, and some side plank variations to inspire you to get started.
The Benefits of Doing Side Planks
It’s pretty obvious, but it deserves repeating: Side planks help to strengthen your core. But remember, your core goes well beyond your “abs” and encompasses muscles from your back down to your pelvic floor.
“Side planks help to strengthen your core—from your shoulders to glutes,” says Peloton instructor Kirra Michel. Because side planks have a smaller base of support compared to regular planks, they’re a fantastic way to improve your balance and stabilization, as well as proprioception (awareness of your body in space), according to Kirra.
Isometric exercises (such as side planks), which require you to hold a static position while your muscles are under tension, can also help build muscular endurance, she adds. Aim to increase how long you hold your side planks incrementally to push your time under tension longer and longer.
“Side planks are great for working your lateral chain of muscles that help with single-leg activities such as balance, walking, running, using stairs, or side-to-side movements,” says Ryan Chow, physical therapist and founder of Reload. Front planks, on the other hand, only train muscles in the sagittal plane (the front and back of the body), and don’t help as much with balance or lateral control, Chow adds.

Peloton App
Access thousands of classes with no equipment needed.
Muscles Worked By Side Planks
The muscles worked by side planks help with many actions we do in everyday life and fitness, Kirra says. Here’s a breakdown of the main muscles involved in a side plank, according to Kirra and Chow:
Internal Obliques: The smaller, thinner muscles that sit beneath the external obliques and run along the sides of your abdomen. They help to stabilize the spine and pelvis, twist and bend your torso, as well as resist rotation.
External Obliques: The larger, flatter oblique muscles that lie on top of the internal obliques (closer to the surface) along the sides of your abdomen. Like the internal obliques, these muscles help to stabilize the spine and pelvis, twist and bend your torso, and resist rotation.
Gluteus Medius: The gluteus medius muscle is located on the outer sides of your butt beneath the much larger gluteus maximus. It helps stabilize the pelvis and assist with hip rotation, extension, and abduction (moving the leg away from the body).
Shoulder: During a side plank, you’ll also work the many muscles in the shoulders, including the rotator cuff, as you have to stabilize through the shoulder joint on the weight-bearing side.
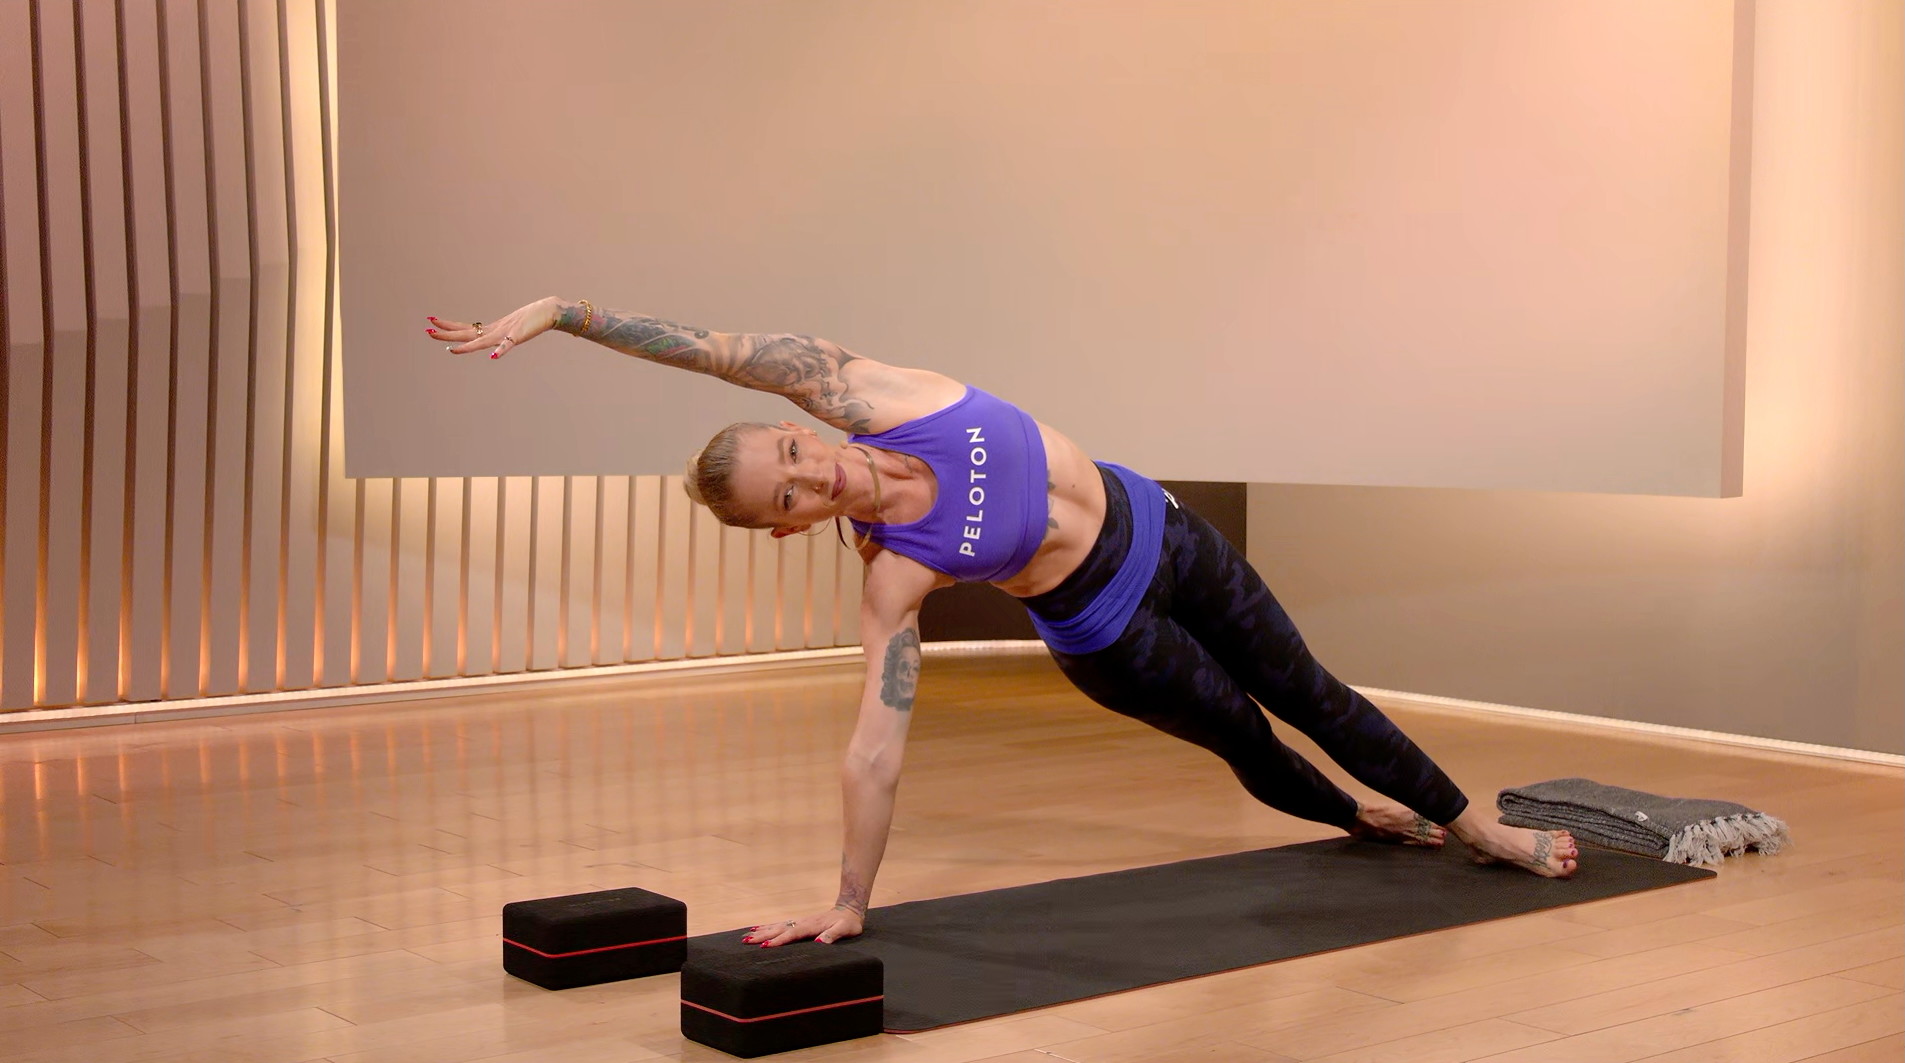
How to Do a Side Plank
It’s helpful to get into a traditional plank position on both hands before pivoting into a side plank, as this ensures every muscle is properly engaged and you feel sturdy in the pose, Kirra says.
Begin in a high plank pose with shoulders stacked over your wrists and legs extended long behind you, toes tucked. Engage your core and bring your belly button toward your spine; think about pulling the muscles on all sides of your abdomen inward (don’t suck in). Lightly squeeze your glutes and keep your head in a neutral position; gaze slightly forward to create a straight line from the crown of your head to your heels.
From there, roll to the outer edge of your right foot, and stack your left foot on top of your right. Turn your hips and shoulders to face the side, stacking your left hip and shoulder directly above your right hip and shoulder.
Firmly press down through your right hand, and avoid sinking into your shoulder. Keep your hips lifted and stacked, with your pelvis pointing forward rather than tilted up or down.
Extend your left arm toward the ceiling. Hold this position for 10-60 seconds.
Pivot back through center, returning to high plank position before repeating on the opposite side. (You can also bring your hips down to the floor for a brief rest, if needed, before moving on to the other side.)
Side Plank Variations
Forearm Side Plank
Any side plank, including the below plank variations, can be performed on your forearm instead of your palm. This is a great choice for anyone with wrist or shoulder issues, or if you’re simply looking for a broader base of support.
Modified Side Plank
Lie on your side with both legs bent and stacked, and your palm on the ground directly beneath your shoulder. Lift your hips as you straighten your arm. Your body should form a straight line from head to knees.
Side Plank Clamshell
Lie on your side and set up your legs for a modified side plank. Lift your hips and straighten your arm as you simultaneously externally rotate your top hip to open up into a clamshell position. In one smooth transition, reverse the movement to return to the starting position.
Staggered Leg Side Plank
Lie on your side with both legs long and your palm on the ground directly beneath your shoulder. Lift your hips as you straighten your arm. From this position, place the top foot in front of the bottom foot. This creates a more stable base compared to stacking your feet.
Tree Pose Side Plank
Lie on your side with both legs long and your palm on the ground directly beneath your shoulder. Lift your hips as you straighten your arm. From this position, slide the foot of your top leg to the inseam of the opposite thigh, as you reach your knee toward the ceiling.
Side Plank Leg Lift
Lie on your side with both legs long and your palm on the ground directly beneath your shoulder. Lift your hips as you straighten your arm. From this position, lift your top leg to hover at about hip height. (For a bonus burn, pulse the top leg up and down.)
Side Plank Hip Dips
Lie on your side with both legs long and your palm on the ground directly beneath your shoulder. Lift your hips as you straighten your arm. From this position, drop your hips toward the floor without letting them touch the ground, then immediately lift your hips back to the starting position. Be mindful not to drop through the shoulder and maintain control throughout the dip.
Copenhagen Side Plank
Lie on your side with the inner edge of your top foot resting on an exercise bench or similar sturdy base. Your bottom leg should be stretched long beneath the bench, and your palm should be on the ground directly beneath your shoulder. Lift your hips as you straighten your arm and hover your bottom foot off the ground.


Side Plank Form: Mistakes to Avoid
As fatigue settles in, you may notice that you start to sink at your shoulders or hips, Kirra says. Aim to keep your body in a straight line and weight evenly distributed. You may also find that your hips are tilted toward either the ceiling or the ground rather than directly forward, she says.
Another common mistake? “Having a deep arch in the lower back, rather than activating the core and pulling in towards the midline of the body,” Kirra says.
One form mistake that’s not just ineffective, but risky, is not stacking your wrist directly beneath your shoulder, Kirra says. This puts undue stress on the shoulder joint. (If you have wrist issues, you can also perform a side plank on your forearm; your fingertips should point forward.)
If you’ve got the hang of side planks, but want to tweak your form to get the most out of the exercise, keep a closer eye on your feet, says Chow. “Most people overvalue the hips being high and don’t pay enough attention to having active feet,” he says. “The harder you push your feet down, the more you get hip musculature to contribute. This also takes a lot of stress off the shoulder and gets more muscle activation overall.”
How to Add Side Planks to Your Workout Routine
Side planks are a great addition to your warm-up, says Chow. Try this: Hold a modified side plank for 30-60 seconds on each side, followed by a progressive variation such as side plank hip dips for 30-60 seconds on each side. Firing up the core, obliques, and glutes thoroughly before the main part of your workout will help improve your performance in moves such as split squats, lunges, staggered stance romanian deadlifts, single-leg squats, running, or jumping, he says.
You can also incorporate side planks into the main block of work during your everyday exercise routines. Try three to five sets to get the most strength and endurance benefits, says Chow.
If you’ve been training with side planks for some time and feel solid on your form, progress your routine by either increasing the reps, sets, or time. You can also challenge your skills with side plank variations or put together an entire lateral core workout by stringing several exercise variations together for a complete routine.
If guided workouts are more of your thing, check out the yoga, Pilates, barre, and strength classes on the Peloton App—all of which include side planks. And if you’re looking to feel a burn only in your core? Try a core strength class, where Peloton instructors serve up 5-30 minutes of nothing but core moves.


This content is for informational and educational purposes only and does not constitute individualized advice. It is not intended to replace professional medical evaluation, diagnosis, or treatment. Seek the advice of your physician for questions you may have regarding your health or a medical condition. If you are having a medical emergency, call your physician or 911 immediately.

Build full-body strength
Enter your email to get articles, instructor tips, and updates from Peloton sent to your inbox.
By providing your email address, you agree to receive marketing communications from Peloton.
For more about how we use your information, see our Privacy Policy.