O2O Creative via Getty Images
The Pilates Roll-Up Is So Much More Than an Ab Exercise. Here’s How to Master It
How you perform a Pilates roll-up is like a crystal ball into your body. Find out why—and how to modify the Pilates roll-up to meet your muscles where they are.
By Karla Walsh•
What Is the Pilates Roll-Up?
The Benefits of Doing the Pilates Roll-Up
How to Do a Pilates Roll-Up with Proper Form
Mistakes to Avoid When Doing Pilates Roll-Ups
Variations and Modifications
How to Add a Roll-Up to Your Pilates Practice
When you watch someone else perform a Pilates roll-up—say, Peloton instructor Mila Lazar—it looks so simple and elegant. With arms overhead, you shift from lying down to sitting up, reach towards your toes, and then reverse. Pilates roll-ups might seem simple, but they’re seriously underrated—and deceptively difficult. No wonder Mila describes this Pilates move as “honest.”
Discover more ways to reach your goals with Peloton


“It tells you exactly where someone is in their body,” she explains. “It helps you detect imbalances and areas of tightness or weakness immediately. It also bridges beautifully between beginner fundamentals and more advanced spinal work. When performed well, the roll-up is meditative, effective, and empowering.”
Whether this will be your first roll-up rodeo or you’ve performed hundreds on your mat, this guide to Pilates roll-ups will help you perform them well, use them wisely, and better understand why they’re one of the best total body workout moves out there.
What Is the Pilates Roll-Up?
Joseph Pilates, the founder of Pilates, launched his exercise method in 1923 with a 34-exercise classical mat sequence. The roll-up is the second in this series, explains Heather Baker, a physical therapist at Swedish Hospital—Endeavor Health. (You might be familiar with some or all of the others, which include push-ups, the Hundred, single-leg stretch, and saw.)
“In its simplest form, the roll-up involves lying on your back with your arms stretched over your head. With control rather than momentum, you then roll up to a sitting position so that the fingers are reaching toward the toes and the legs are still resting on the ground,” Baker says. “It’s a very polarizing exercise. Many students love it, while others can’t understand how it is even possible to perform.”
This move is part of the Pilates foundation, but that certainly doesn’t mean it’s a beginner exercise. For this reason, Mila recommends prioritizing quality over trying to increase your range of motion or number of reps, and modifying when needed (more on that below). This will ensure you master proper technique, avoid strain, and reduce the risk for injury, all while making the exercise accessible and effective.

Peloton App
Access thousands of classes with no equipment needed.
The Benefits of Doing the Pilates Roll-Up
“The balance between flexibility, mobility, and strength is what makes the roll-up so functionally powerful,” Mila says. Baker and Mila agree that when performed correctly, the Pilates roll-up can:
Strengthen the core, including the rectus abdominis and deep transversus abdominis, which can be tough to target
Challenge the core through its full range of motion, building muscle and eccentric control
Increase mobility in the shoulders and hips
Improve flexibility in the spine and hamstrings
Activate hip flexors, which is ideal before a run, bike, or other cardio workout
Boost spinal awareness, notably in the often-stiff thoracic (mid-spine) and lumbar (lower back) areas
Provide an opportunity to practice connecting breath to movement, which enhances both neuromuscular coordination and core efficiency

How to Do a Pilates Roll-Up with Proper Form
Mila and Baker coach through how to do a Pilates roll-up, step-by-step.
Lie face up on a mat with your legs straight and arms extended over your head with palms facing each other, biceps by your ears.
Inhale deeply to prepare, then exhale and float your arms toward the ceiling. When they pass your eyes, tuck your chin toward your chest (leaving enough space for a fist) and slowly curl your head and neck off the floor. Engage your deep core to scoop and round forward, peeling your spine off the floor vertebra by vertebra, reaching your hands forward toward your feet.
Once in a seated position, continue to reach your hands forward toward (and, if possible, past) your toes. Your back should remain in a “C” curve; pull your belly button to your spine and tuck the tailbone, keeping your shoulders relaxed and down. Your chin should remain slightly tucked, with your gaze down at your knees.
Inhale to lift your chest and straighten your spine, stacking your vertebrae, lengthening the crown of your head toward the ceiling, and keeping your core engaged.
Exhale, tuck your pelvis, round your back, and with control, slowly roll your back down to the floor one vertebra at a time. “Think: tailbone heavy, lower back gently imprinting, and upper spine rolling down last,” Mila says. Keep your arms extended forward toward your toes until your mid-back reaches the floor, and then stretch arms overhead to return to the starting position.
Pause for a moment, lying on the floor with a neutral spine. Make sure your arms are in contact with the floor. That's one rep.


Mistakes to Avoid When Doing Pilates Roll-Ups
“A roll-up reveals a lot about our movement patterns. Are you using momentum? Are you rushing through certain parts? You can learn so much from how someone performs it. That makes it an essential tool for both assessment and progression,” Mila says. Try to steer clear of these common mistakes.
Rushing. This is the most common issue, the pros agree. Take your time and use your breath to work at a slow, controlled pace. As you do, Mila says it can be helpful to imagine your spine is covered in wet paint from top to bottom. Strive to leave an imprint of each vertebra on the mat.
Swinging or yanking. It can feel tempting to swing your arms, lift your legs, or use your hands to grip your thighs as you lift. Until you can roll up and down without these “crutches,” practice modified roll-ups with your knees bent (more on those below).
Arching your back excessively when lying down. When lying on the mat with your arms overhead, the goal is to find a neutral spine (pelvic tilts can help with this). Ideally, most (or all) of your spine will be touching the ground, depending on your anatomy. If your back is arching too much, “it could mean that your shoulders are too tight or you don’t have adequate control of your spine,” Baker says. “Try to engage the abdominals to gain contact with the floor.” Or think of anchoring your ribs to the floor rather than letting them flare open, Mila adds. If these cues don’t work, try to raise the arms slightly so that shoulder stiffness isn't the limiting factor, Baker says.
Allowing the feet to lift off the mat. This may be due to weak lower abdominals, tight hip flexors, or both, Mila says. Bending the knees or anchoring the feet can help prevent this—as can extra attention. “Focus on initiating the roll up from the deep abdominals, and think about gentle energy pressing through the heels as you rise,” Mila says.
Clenching the jaw and raising the shoulders. If you allow your head to lead the motion, rather than rolling as one solid circuit, tension often creeps into the jaw and shoulders, Mila says. To avoid this, emphasize the chin nod and think about lifting from your chest bone rather than your neck. “Shoulders should stay wide and down, with arms soft and flowing,” Mila explains.

Variations and Modifications
Pilates roll-ups require significant deep core strength, Baker says, which is something even very active individuals can lack. Remember that “modifying the roll-up isn’t a shortcut, it’s a strategy for mastering it with integrity and long-term progress,” Mila says. “Everyone, including advanced movers, can benefit from revisiting these variations to refine their control and spinal awareness.” (Hamstring and hip stretches can also support the mission of mastering the roll-up.)
If You’re New to Roll-Ups: Bent-Knee Roll-Up and Half Roll-Up
If you’re new to the roll-up or are working on building core strength, flexibility, and/or mobility, Mila and Baker suggest starting with a bent-knee half roll-up. Tight hamstrings or hip flexors can pull on the pelvis, making a full roll-up nearly impossible, Mila concedes. Performing a partial roll-up, with knees bent and feet flat on the floor, “takes pressure off the posterior chain and allows the core to work more efficiently...[and] builds strength where it’s needed,” Mila says.
Sit on the mat with knees slightly bent, feet flat on the floor, and arms extended parallel to the floor with palms facing towards each other. Take a deep inhale.
Exhale, lower your chin toward your chest, engage your core, and roll back one vertebrae at a time until your mid-back touches the floor. Pause and inhale.
Exhale, round your back, and with control, slowly roll back up to seated, with knees slightly bent and arms stretched out once more. Repeat to perform as many reps as desired.
Once this move feels manageable, try performing a full roll-up—going all the way down to the floor—but still with your knees bent and feet flat on the floor.
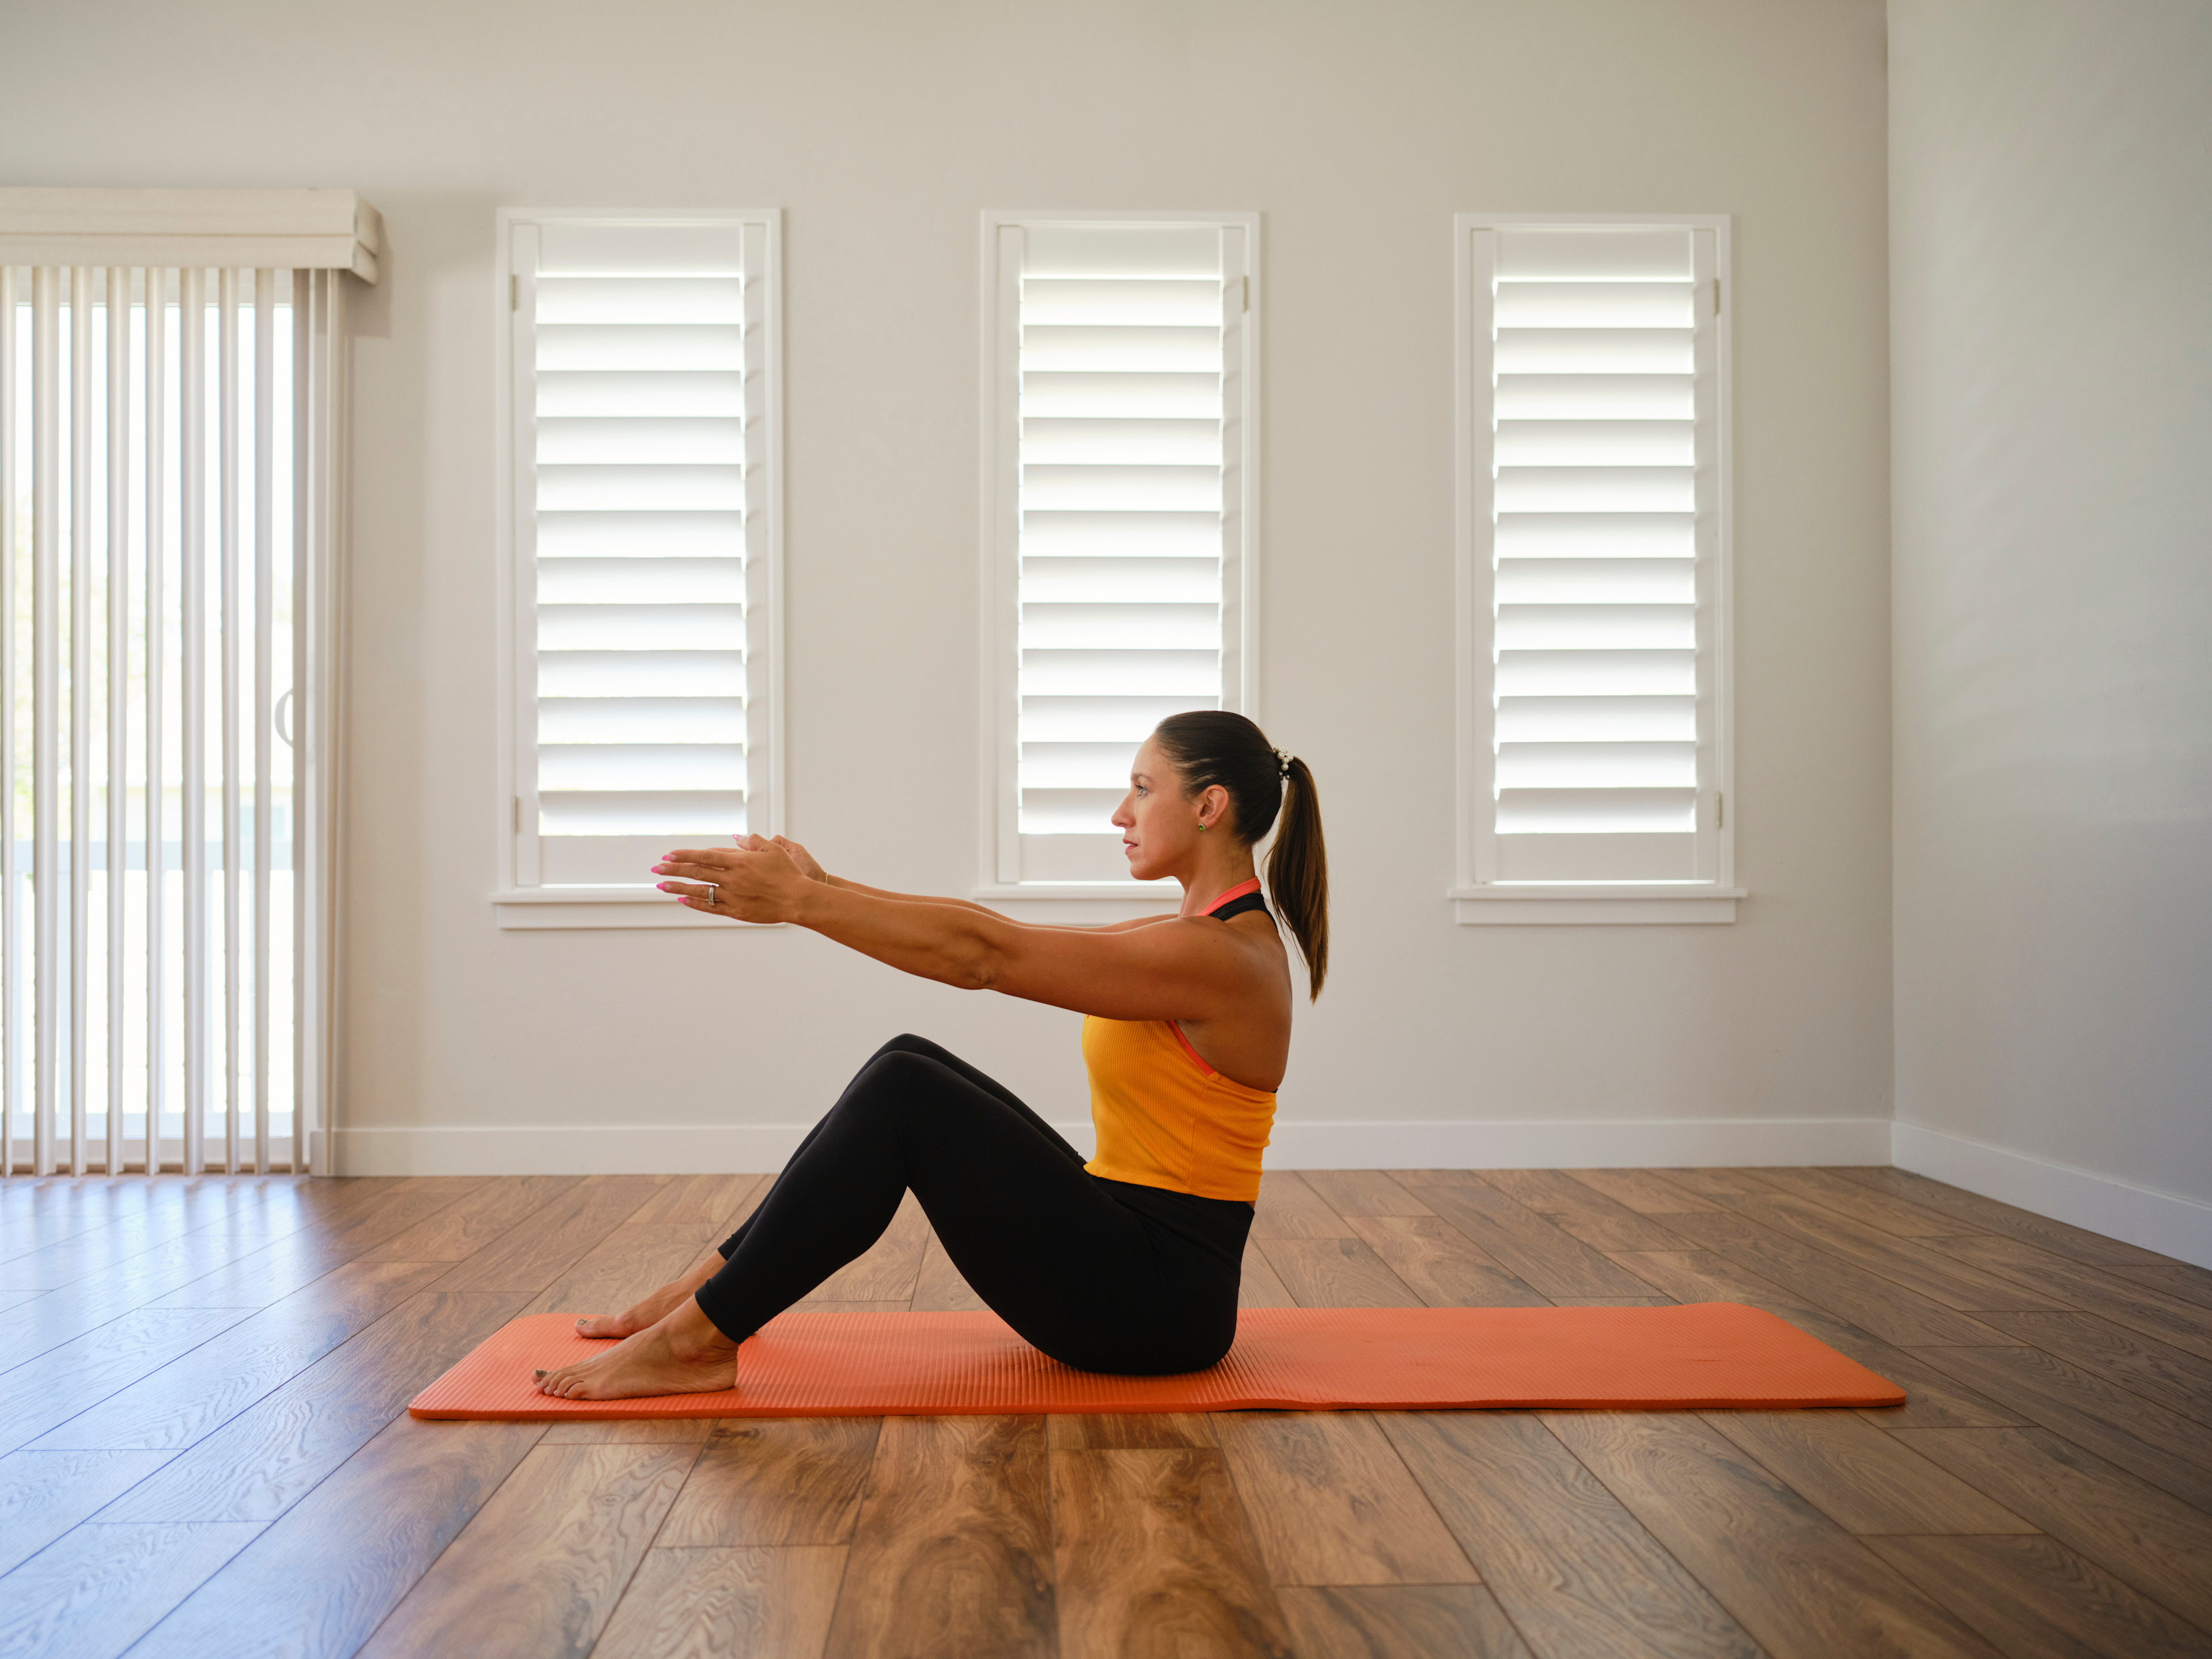
If That’s Too Challenging: Hold Your Thighs
If the above modification feels too challenging, try lightly holding onto your thighs (rather than extending your arms) for additional support, as shown above. With consistent practice, over time, you’ll build strength and use less of your arms—and can eventually progress to a full roll-up.
If Your Feet Lift Off the Floor: Anchor Your Feet
If your feet keep lifting off the floor, try anchoring your feet with light ankle weights or pressing them gently into a wall. This adds stability and helps to connect more deeply to the abs, Mila says.
If You’re Using Momentum: Use a Strap or Band
If you find yourself relying on momentum, loop a strap or resistance band around your feet, then hold one end in each hand. As you roll up, pull gently on the strap or band for leverage, which will “allow you to peel up and complete the motion without strain,” Mila adds.
How to Add a Roll-Up to Your Pilates Practice
Mila is fond of adding the Pilates roll-up to every class, as it “helps reset my spine, reconnect to my center, and check in with how my body is integrating movement on any given day.” You’ll find this multitasking move incorporated into many of the Pilates classes on the Peloton App. You can also slot it into the core section of any Pilates workout.
Feeling inspired to conquer that 34-move sequence? You can look forward to the Pilates roll-up right after the hundred and before the roll-over (which is essentially the opposite motion; keeping the upper body on the mat and lifting both straight legs overhead with control).
Even if you’re not big into practicing Pilates, it’s definitely possible (and productive!) to harness the power of a roll-up. Try it as a warm-up exercise before a cardio session or slide it into your mobility work or core-focused strength training workouts.


This content is for informational and educational purposes only and does not constitute individualized advice. It is not intended to replace professional medical evaluation, diagnosis, or treatment. Seek the advice of your physician for questions you may have regarding your health or a medical condition. If you are having a medical emergency, call your physician or 911 immediately.

Level up your inbox.
Subscribe for a weekly dose of fitness, plus the latest promos, launches, and events.
By providing your email address, you agree to receive marketing communications from Peloton.
For more about how we use your information, see our Privacy Policy.